
The hair rig is one of the easiest and most applicable carp rigs out there! It is as simple as it is brilliant and effective and can catch you a lot of fish.
I have been using this rig for many years and it has produced countless takes for me. So, I wrote this guide in order to show you how to make a hair rig the right way.
All you really need to make a hair rig is a size 4 wide gape carp hook and a 7-10” piece of 20lb braided hooklink. To tie the hooklink onto your hook, you can use a knotless knot, leaving about 1-1.5” of the hooklength hanging from the hook eye. This extra piece, with a small loop at the end, will be your hair.
Continue to read this step-by-step guide if you want to know exactly how to make a hair rig.
PRO TIP: Big carp demand reliable, high-quality hair rigs, which is why you should use very strong hooks and hooklinks. My go-to tackle consists of size 4 Korda Wide Gape X hooks (find them it on Amazon) and a 20lb Korda Dark Matter hooklink material (find it on Amazon here).
Step 1: Tie a Small Loop
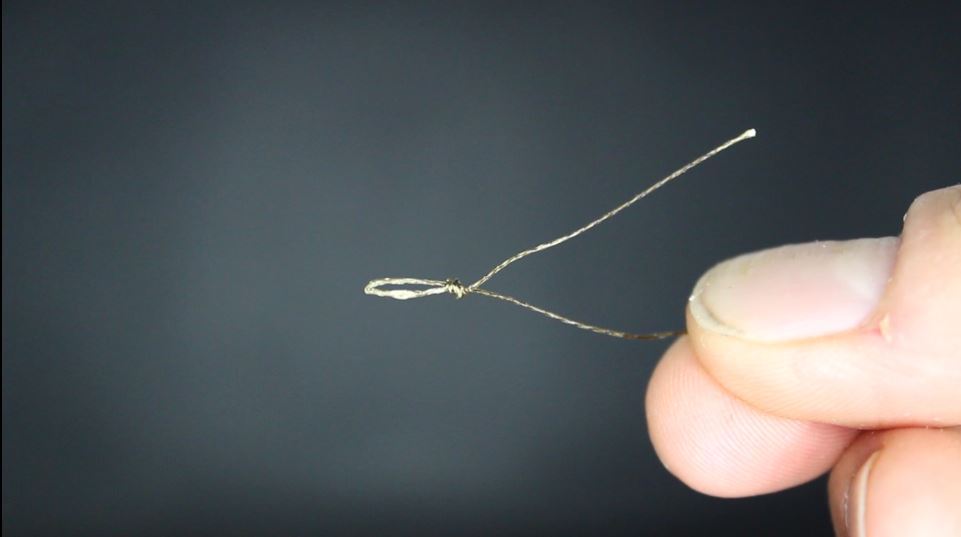
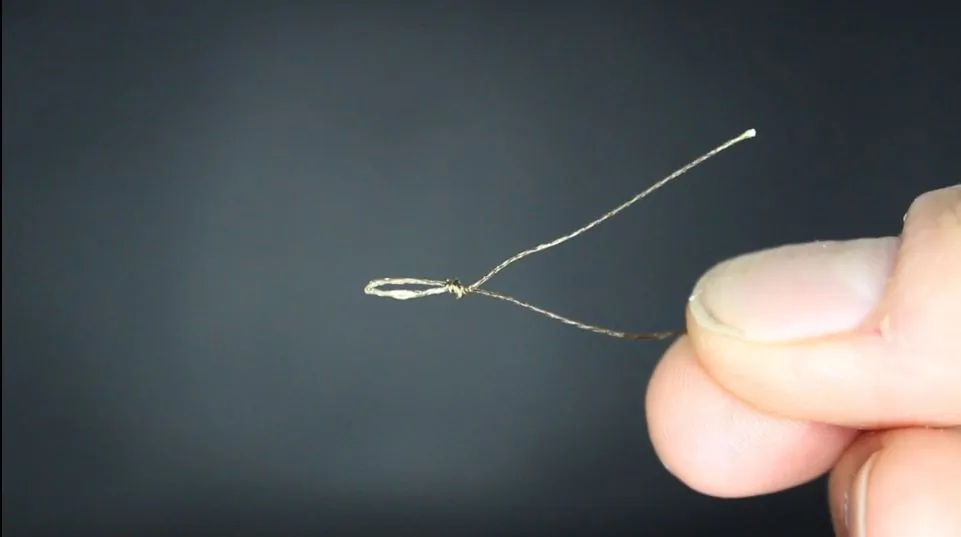
The first thing you have to do is to cut off a piece of your braided hooklink material for your rig. This piece should be about 7-10” long, which is a standard length for a normal hair.
Now, take one end of that hooklength and tie a rather small loop in one end of it. This will be your hair loop for the boilie stop. Make it a normal overhand knot, as this knot will not be exposed to any weight or pressure.
Step 2: Trim off The Tag End
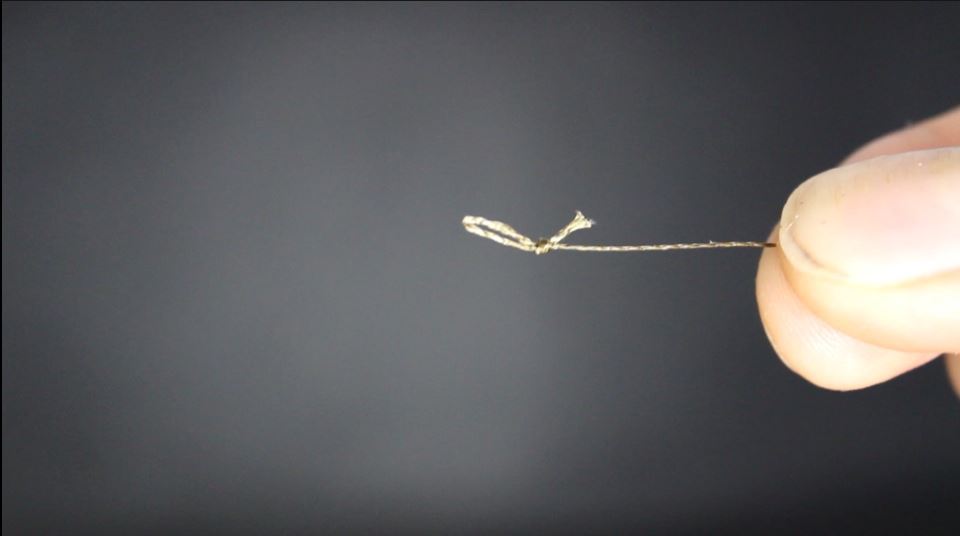

Once your hair loop is tied, take a pair of scissors and trim of the tag end close to the knot.
This loop should be covered entirely by the hookbait (boilie or pop-up) you are going to put on the hair, which is why you do not want the tag end to stick out somewhere.
Step 3: Run The Hooklength Through The Hook Eye

This is where your carp hook comes in. I prefer to use a size 4 wide gape carp hook, as this size fits the most commonly used boilie sizes for carp (being 15-18mm). The wide gape shape will hook the fish perfectly each and every time.
Now, take the other end of your hooklength and run it through the back of the hook eye.
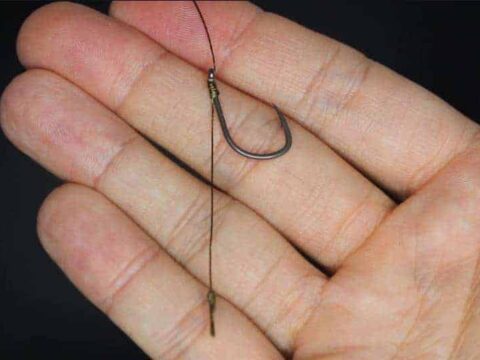
Step 4: Leave 1-1.5” Hanging from The Hook Eye
Run the hooklength all the way through the hook eye until you are getting close to the other end with the little loop. Here, you should stop and leave about 1-1.5” hanging from the hook eye. This remaining part of your hooklength will be the hair.
The length of your hair depends on the amount and size of your hookbait. Here is a little guide that will help you set the right length:
| Hookbait | Hair Length |
| Single 15mm Boilie/Pop-up | about 1” |
| Double 15mm Boilie/Pop-up | about 1.3” |
| Single 18mm Boilie/Pop-up | about 1” |
| Double 18mm Boilie/Pop-up | about 1.5” |
No matter the size or amount of your hookbaits, make sure to always leave 3-5 mm between the hook’s bend and the edge of the boilie or pop-up closest to it. This will give your hookbaits a little flexibility and movement on the hair and significantly improve your rig’s hooking mechanism.
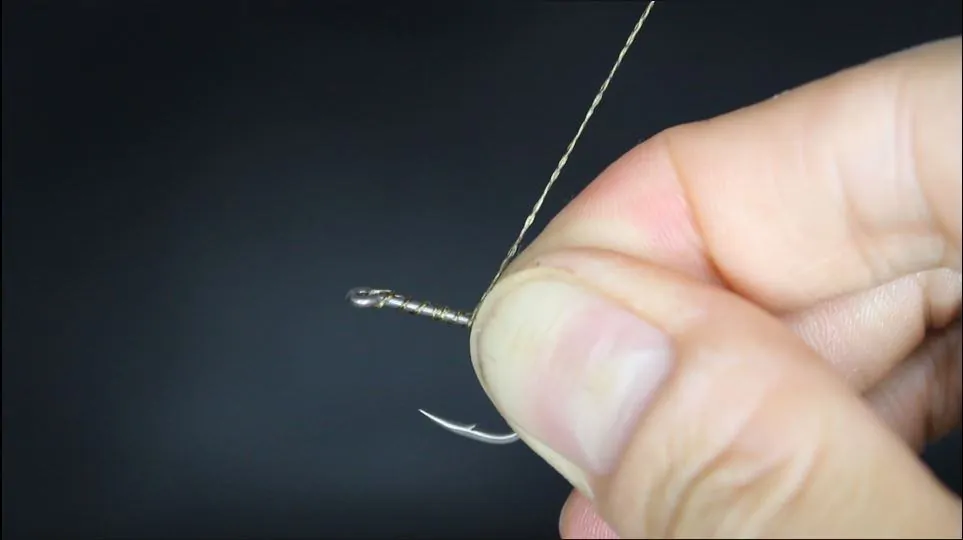
Step 5: Hold The Hair and Shank Together

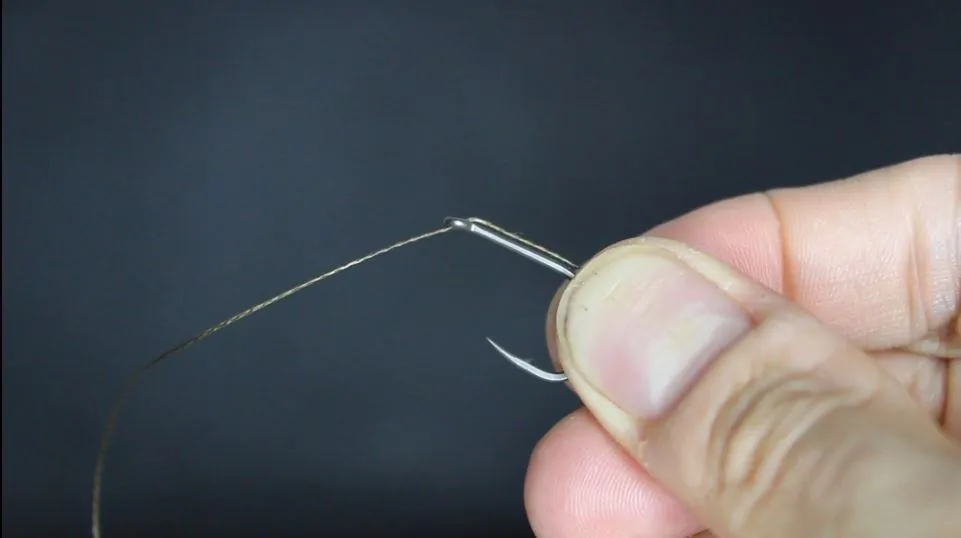
You have now set the right length for your hair, hold both the hair and shank securely between your thumb and index finger.
You will want the hair to be perfectly and tightly aligned with the hook shank. This will ensure a perfect bait presentation and hooking mechanism of your hair rig.
Step 6: Turn Hooklength 5-7 Times Around The Hair and Shank
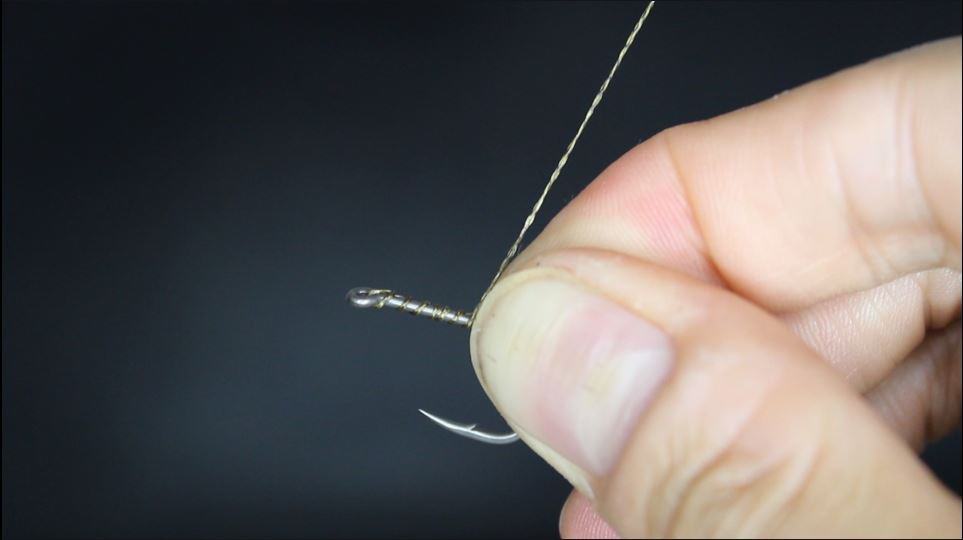
Now, take your hooklength and turn it 5-7 times counter-clockwise around both the hair and the shank.
Twist it tightly and remember to also keep the hair close and tight to the hook shank. The tighter the knotless knot is tied, the better your rig will function, and the longer it will hold.
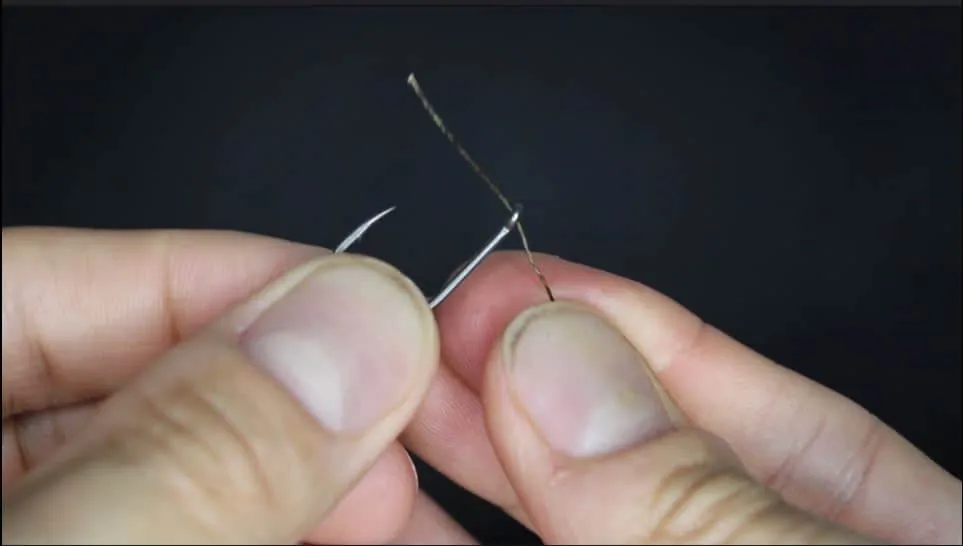
Step 7: Run The Hooklength Through The Hook Eye Again
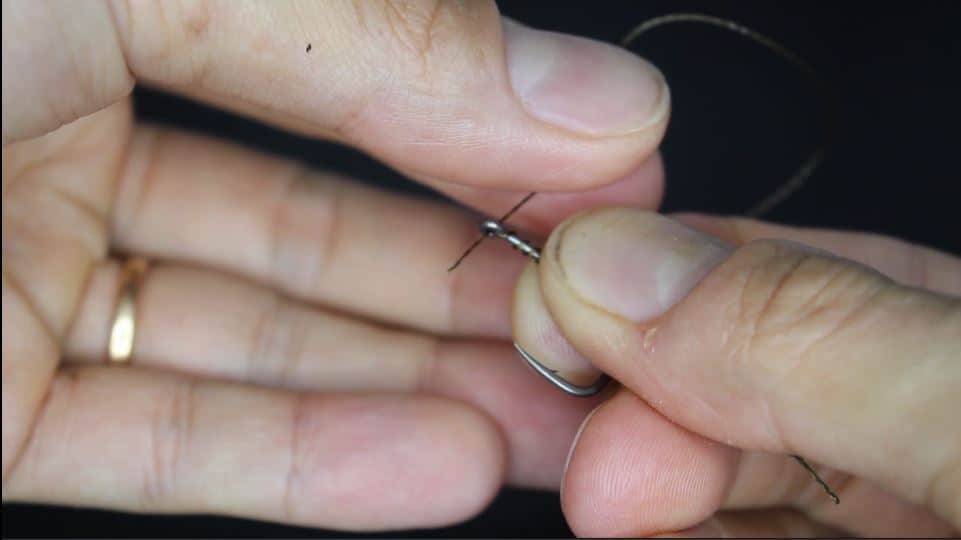

After those 5-7 turns, take the end of your hooklength and, once again, run it through the back of the hook eye.
This procedure is the essence of the knotless knot, creating an ultra-strong knot that you can rely on 100% during the fight!
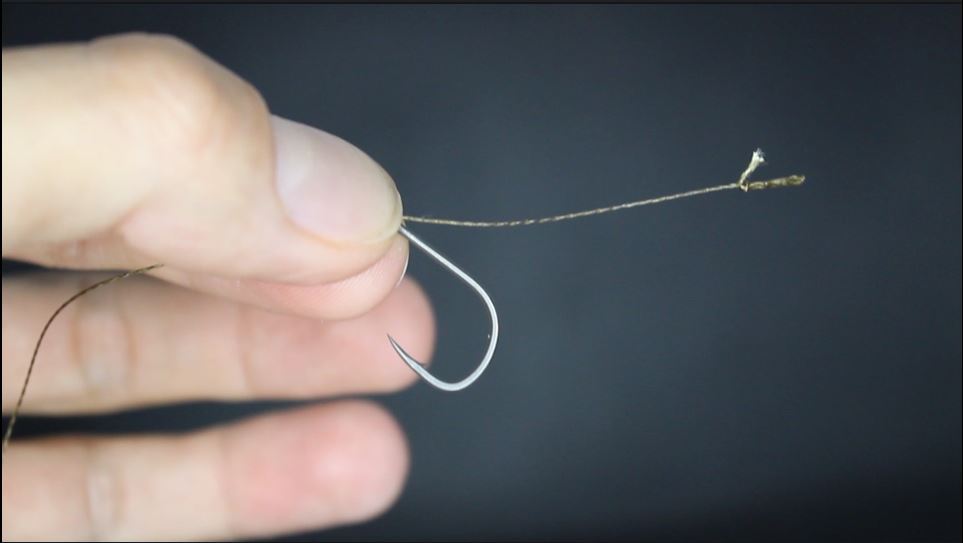
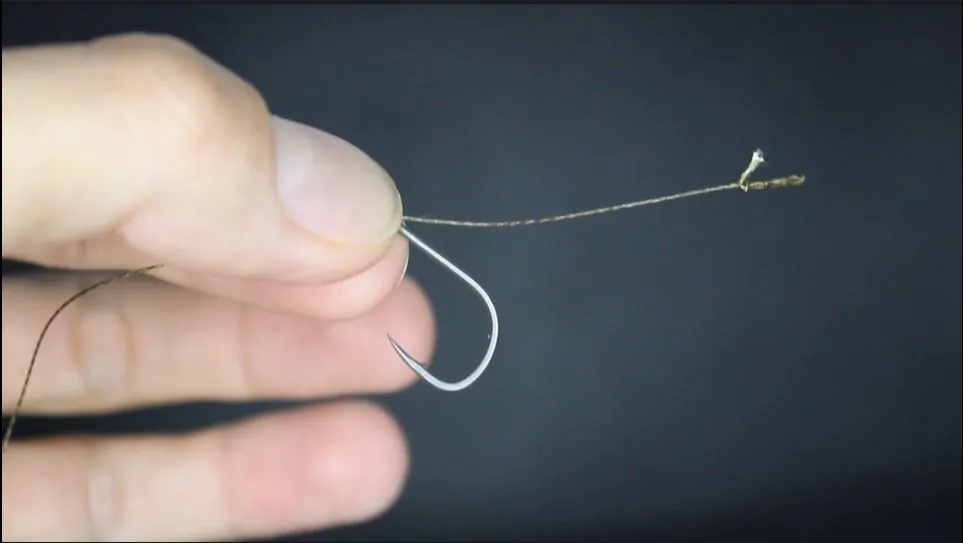
Step 8: Tighten The Knotless Knot

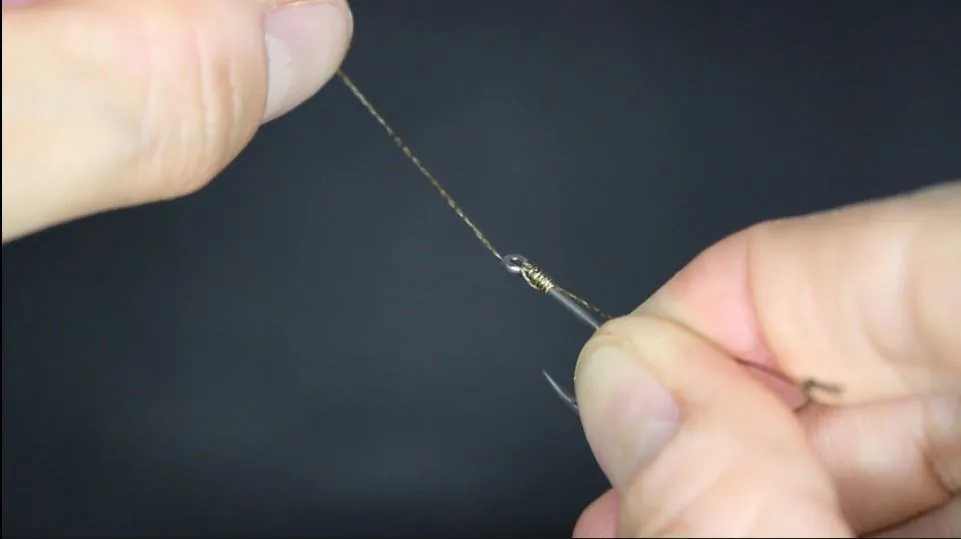
All that’s left to do now is to tighten the knotless knot. Take your hooklength and start pulling it away from the hook.
While doing so, keep holding the hook shank and the hair together with your thumb and index finger. Make sure to keep the hair centered and perfectly aligned with the hook shank while you pull your knotless knot tight.
Should you not manage to do so and the hair is somewhat to the left or right of the shank, simply loosen the knotless knot somewhat and adjust the hair (that’s the beauty of the knotless knot!).
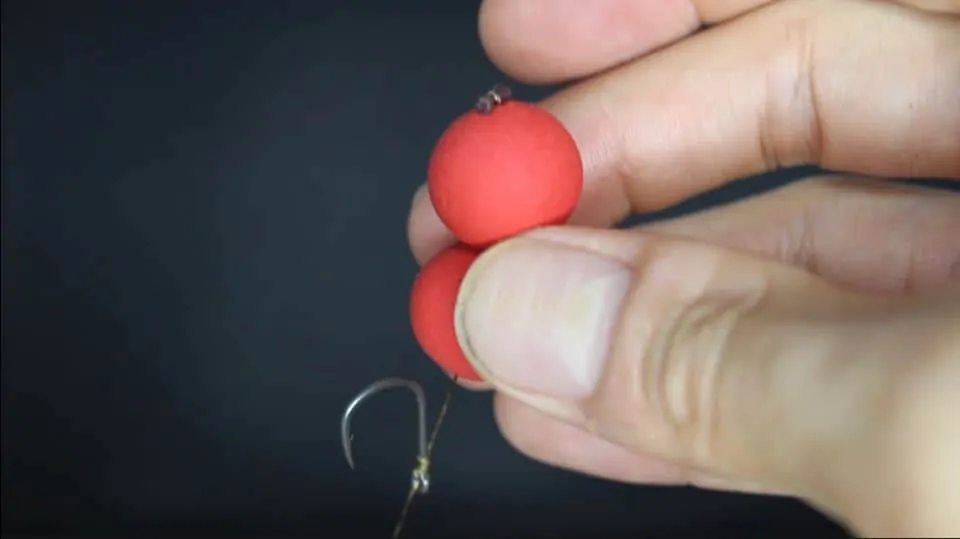
Step 9: Put on Your Hookbait


Congratulations! You have now made your very first hair rig! Now, you can put on your hookbait(s) and see how the finished and baited up rig is going to look.
Put your boilie and/or popup onto your boilie needle and hook the needle to the hair loop. Now, simply take hold of the hookbait(s) and draw them from your needle over to the hair.
Draw them all the way until the hair loop becomes fully visible, as this is where your boilie stop is going to be placed.
Boilie needles can be somewhat easy to break, which is why you should use a solid and stiff type of needle. This will save you money in the long run! You can find a very reliable boilie needle on Amazon here.
Attach a Boilie Stop

The last step is to put a little plastic or rubber boilie stop into the hair loop. This stop will prevent the hookbait from sliding off the hair when casting out, or when a carp picks it up and sucks it into its mouth.
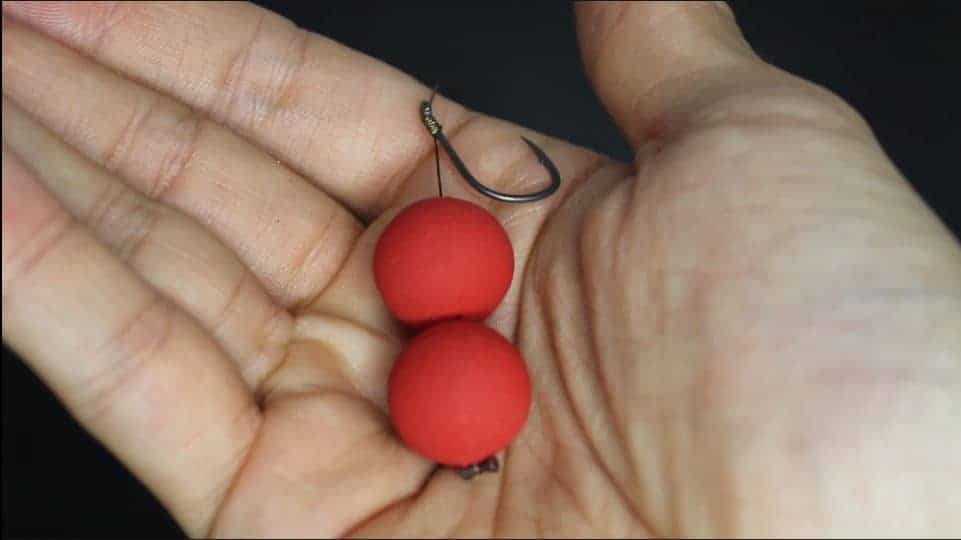
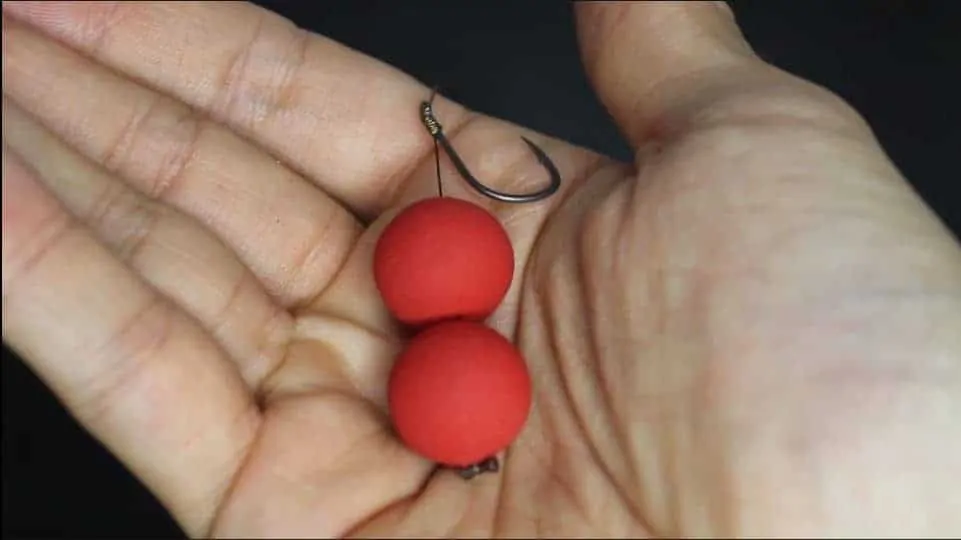
And that is all! You have now tied the highly effective and super simple hair rig and can test it next time you are on the bank. Leave a comment below and tell me how it went. Tight lines!
For waters with weedy or silty bottoms, it’s often a good idea to use the pop-up rig instead. If you want to learn how to tie that carp rig, make sure to also read this how-to guide I have written: How to Tie a Pop-Up Rig (Simple Step-By-Step Guide)
Essential Tackle Tips
If you’re looking for solid and reliable carp fishing equipment, these tips might be useful for you.
The following tackle is of top quality and sells at a very decent price on Amazon.
I have been using this setup myself for many years and have caught plenty of big carp with it.
Rod: Daiwa Black Widow
A very strong and beautifully made 12ft 3lb carp rod with a ton of backbone and a great bend. Casts anything up to 5 oz extremely well and lets you navigate and control your fish smoothly and effectively. Fits both open and snaggy waters.
Reel: Shimano Baitrunner DL 6000
A reliable standard-sized baitrunner reel that works great for short to medium-distance carp fishing. Loads around 200 yards of 15-18lb monofilament mainline. Handles any wild run very smoothly! Fits the Black Widow rod perfectly.
Mainline: Daiwa Sensor 15lb
One of the strongest and most durable monofilament lines out there! Sells at a very good price and will last you for many fishing trips. Has just the right amount of stretch to perfectly hook and fight every fish.